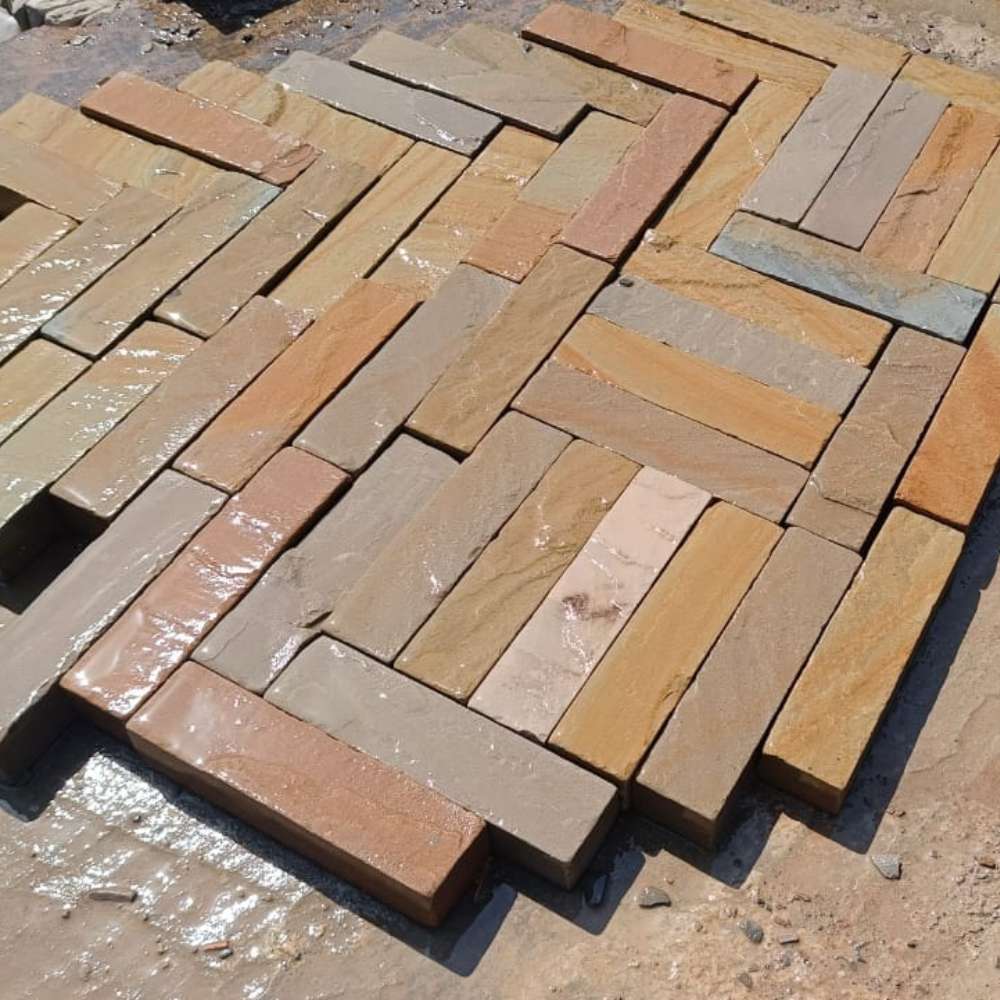
Natural Stone Paving: Creating Beautiful, Long-lasting Outdoor Spaces
07 March 2025
23 January 2025
15 January 2025
14 December 2024
08 July 2024
05 June 2024
13 May 2024
24 April 2024

Sandstone paving must be laid precisely to have both structural integrity and visual appeal. Careful installation guarantees a beautiful result that improves the landscape's or outdoor area's general appearance. The area's appeal is increased when sandstone is laid neatly since it produces smooth edges and a polished appearance.
Also, endurance and durability depend on the accurate laying of sandstone paving. Sandstone pavers with proper alignment reduce the possibility of uneven surfaces, which can cause trip hazards and prevent premature deterioration. Moreover, a well-done placement encourages stability, keeping the paving stones from settling or shifting over time.
It is important to understand that proper laying of sandstone paving techniques is essential for sandstone paving to be stable, long-lasting, and aesthetically pleasing. First, it helps to ensure suitable drainage, avoiding water accumulation that can cause erosion or stone movement. Second, accurate leveling ensures comfortable driving or walking conditions by minimising the possibility of uneven surfaces, which also reduces mishaps. Accurate joint spacing and filling restrict the growth of weeds and preserve the pavement's structure.
Therefore, when correct compaction is attained after installation, sandstone paving's lifespan is increased, and maintenance needs are reduced. The paving also has a greater capacity to support loads. Careful attention to detail in the laying patterns and alignment further enhances the paved area's visual appeal, adding to the landscape's overall beauty.

The following are the crucial steps for correctly laying sandstone paving-
Final Touches: To further stabilise the pavers and stop weed development, fill the joints with sand or mortar and compact them. Lastly, thoroughly clean the surface to remove debris and improve the project's appearance when it's finished.
For laying sandstone paving, you'll need a shovel, wheelbarrow, tape measure, level, rubber mallet, and a saw or chisel for cutting. Materials for this project include sandstone pavers, cement or mortar for joint filling, and crushed stone or sand for the base.
You may also need to wear gloves and goggles for safety, geotextile fabric, and a plate compactor to compact the base to avoid weeds. Depending on the size of the job, additional tools like a vibrating plate compactor or wet saw can be needed for more delicate cuts or larger installations.
Ensuring proper alignment and leveling of sandstone paving stones involves several key steps:

Many methods can be used to fill up the spaces and joints between sandstone pavers. Using polymeric sand, a blend of fine sand and polymer additives that solidifies when exposed to moisture and creates a strong binding between the stones is considered to be one of the popular techniques. Another choice is mortar, which is a durable and long-lasting mixture of cement, sand, and water. Popular jointing compounds that are based on resin give a variety of color possibilities to complement the stones, as well as durability and resistance to weeds.
Traditional dry jointing is an easy and inexpensive process that employs sand or crushed stone dust, though it can need to be reapplied periodically. Earlier grout performs well in locations where drainage is a major concern since it is designed to allow water to flow. Finally, while applying silica sand to the voids is easy and inexpensive, its bonding power is not as strong as that of other methods.
It is necessary to understand that every technique has advantages and disadvantages. The choice is dependent on factors such as traffic volume, climate, and intended aesthetics.
When installing indian sandstone paving, common errors include not properly preparing the base, placing the stones incorrectly, and using the incorrect kind of glue or jointing substance. To avoid these mistakes, make sure the base is properly excavated and compacted, utilise string lines and levels for precise alignment, and keep the stone spacing uniform.
One must select jointing materials and adhesives that are suited for sandstone and apply them according to the manufacturer's instructions. Check the work frequently and adjust as necessary to guarantee a superior finish.
All About Sandstone for Paving
When designing a layout for sandstone pavers, the following factors should be considered: budget, maintenance requirements, sandstone qualities (color, thickness), climate (temperature, rainfall), purpose (foot traffic, aesthetics), and site conditions (terrain, drainage). Strive for a design that is safe, complies with accessibility requirements, and looks good.
The size of the area, the intricacy of the pattern, the workers' skill level, and the site's characteristics can all affect how long it takes to build sandstone pavement.
However, laying sandstone paving can take a few days to a few weeks for a regular project. Preparing the site, leveling the ground, laying the stones, cutting and fitting them as necessary, and grouting are all included in this. Bigger spaces or more complex patterns could take longer to finish, while simpler, smaller jobs can be finished rather quickly.

The Stonemart requires meticulous planning, close attention to detail, and appropriate execution, which are necessary for flawless sandstone paving installation. We start by evaluating the site, choosing the best type of sandstone, and figuring out the layout and style that work best for the available area. We also make sure the site is well-prepared, with a stable base and adequate drainage.
Once the sandstone has been properly laid, use the proper tools for any necessary cutting and fitting, being sure to maintain equal spacing and alignment. Ultimately, careful consideration should be given to sealing and grouting as last touches to improve the paving's endurance and aesthetic appeal. Any outdoor space can be enhanced with a beautiful and useful sandstone paved area that you can design with accuracy and patience.
Thanks for subscribing!
This email has been registered!