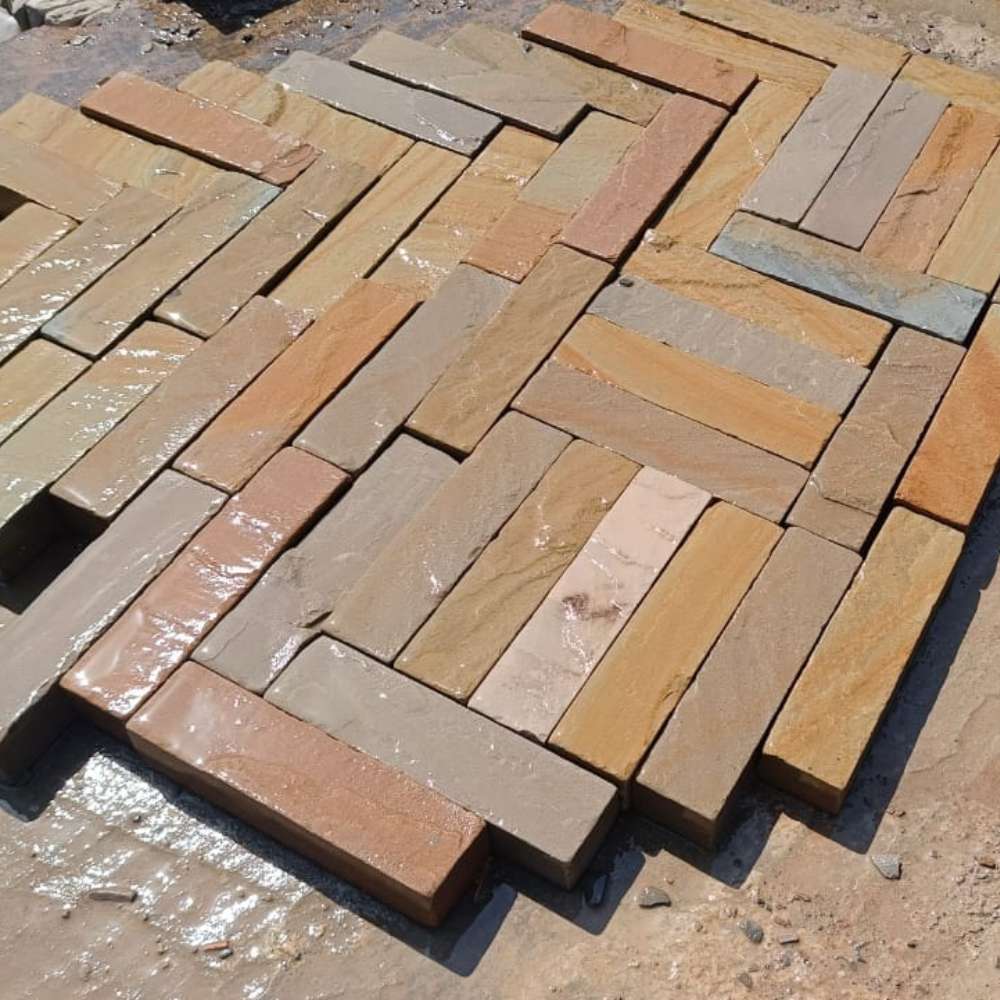
How to Lay Slate Paving Like a Pro
Slate is a natural stone that stands out for its lovely colours, textures, and toughness.It’s brilliant landscaping because it looks great and holds up well to weather Putting down slate paving can make outdoor areas like driveways, patios, and paths look stunning and last for ages.
Whether you're handy around the house or new to DIY, this guide will help you lay slate paving that stands the test of time.
Your Guide to Laying Slate Paving
Follow these simple steps to lay your own slate pavers:
Step 1: Pick Your Spot
- Decide where you want your slate paving.
- the area with stakes and string Make sure it's easy to get to and think about how water will drain away
Step 2: Get the Ground Ready
- Dig the area about 4-6 inches deep. This needs to fit the base and the paving slabs. Take out all grass, roots, and rubbish.
- Fill the dug-out area with 2-4 inches of sharp sand or gravel. This makes a solid base for your slate paving.
- Use a tamper or plate compactor to pack down the sand or gravel. Check it's flat with a spirit level.
Step 3: Lay Your Slate Paving
- Mix the Mortar: Combine cement and water in a bucket, following the maker's instructions. It should be thick enough to hold the slate slabs in place.
- Spread the Mortar: Use a trowel to spread a layer of mortar over your packed-down base.
- Put Down the Slate Slabs: Start in one corner and work your way out. Leave a small gap (about 1/4 inch) between each slab for grouting later.
Check They’re Even: Make sure the slabs are level. Adjust them if needed, tapping with a rubber mallet to bed them in.
Step 4: Fill the Gaps
- Make the Grout: Mix your grouting stuff as it says on the packet. It should be easy to spread but not runny.
- Fill the Gaps: Use a trowel or grout float to push grout into the spaces between the slate slabs. Make sure it fills all the gaps and smooth off any extra on top of the slabs.
- Clean UpExtra Grout: After filling, use a damp sponge to wipe off any extra grout. Be careful not to pull grout out of the gaps.
Step 5: Let It Set
Leave your slate paving to set for 24 to 48 hours, depending on the weather off it during this time so it sticks properly.
Step 6: Finishing Touches
- Seal the Slate (If You Want): Once it's dry, you might want to seal your slate to bring out its colour and protect it from stains and weather.
- Stop Weeds: If you like, put weed barrier cloth under the paving or around the edges to stop weeds growing through.
- Tidy Up: When everything's done, sweep up any bits left over. You could give the slate slabs a gentle clean to show off their natural beauty.
Tips for Good Drainage and Stability
Here's how to make sure your slate paving drains well and stays put:
- Start with a base that drains well, like crushed gravel. This helps water flow away from the surface.
- Make a slight slope (2-3%) to guide water towards drainage points and stop puddles forming.
- Put geotextile fabric between the sub-base and the soil to stop shifting and weed growth.
- Fill joints with stuff that lets water through, like sand-cement mix or resin-based grout. This lets water drain while keeping the slabs secure.
These tips will help your slate paving stay strong and look good for years to come.
Wrapping Up
Laying slate paving can totally change how your outdoor space looks and feels. It’s key to follow the right steps making a solid base, putting down the slabs, and making sure they're and set properly curing.
Here at The Stonemart, we're keen to help you get a fantastic finish. Whether you're doing up paths, patios, or driveways, slate paving adds a touch of class and practicality to your outdoor space.

